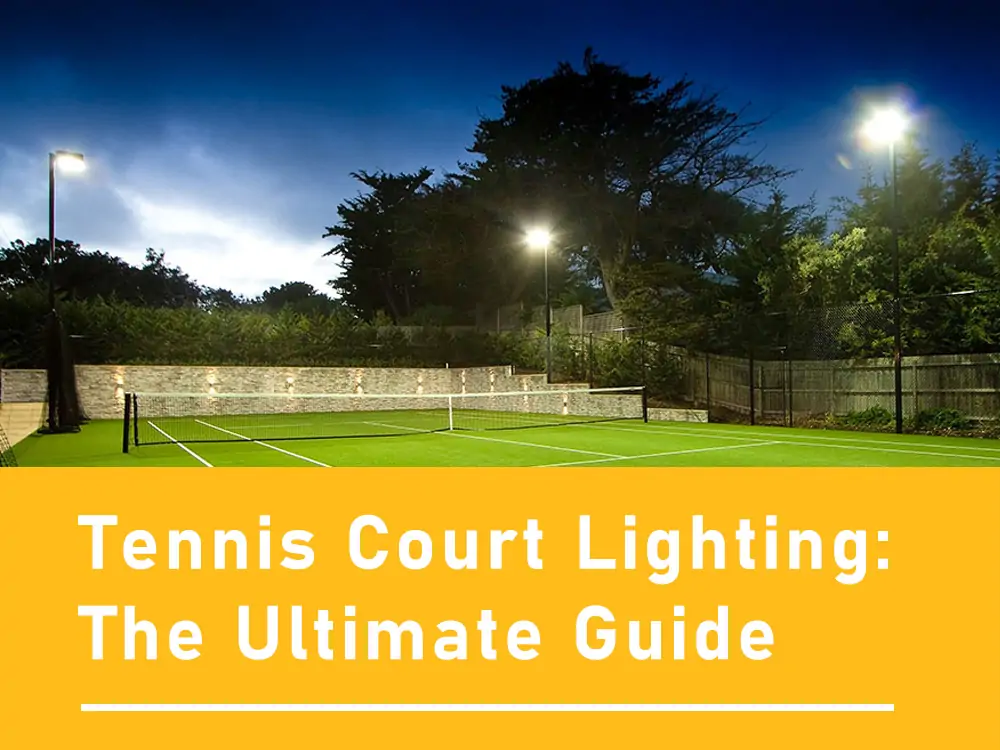
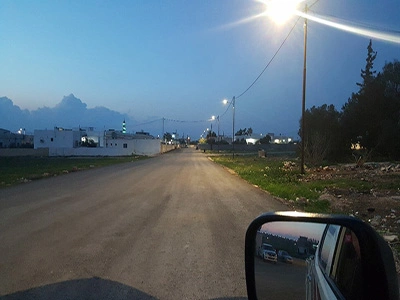
Outdoor lighting provides you with many benefits. It can light your way to the front door. LED garden lighting can help you know who is calling at night and deter burglars. LED garden lighting allows you to make the most of your deck on warm summer nights and can create stunning visual effects of light and shadow in your plants. So how do we install our favorite outdoor lighting ourselves! I’ll share my outdoor lighting installation process with you next.

Installing garden lighting: tips and tricks
Step 1: Choose the right garden lighting
If you want to install garden lighting, there are now several different lighting solutions that may be suitable for your garden. You can choose to stick with traditional energy-saving lamps or solar-powered LED lights. But rest assured that there are now more and more types of lights and options available. LED garden lighting has the advantage of remaining very energy efficient and having a longer life than CFLs. So if you are installing garden lighting outdoors, the first thing you would recommend is the very energy-efficient LED lighting that is now available. If you want to install, another good solution may be solar garden lighting. The good thing about solar lighting is that you don’t have to worry about laying cables, so your garden planning can become much easier.
Before you learn how to install landscape lights, choose the type of light you want.
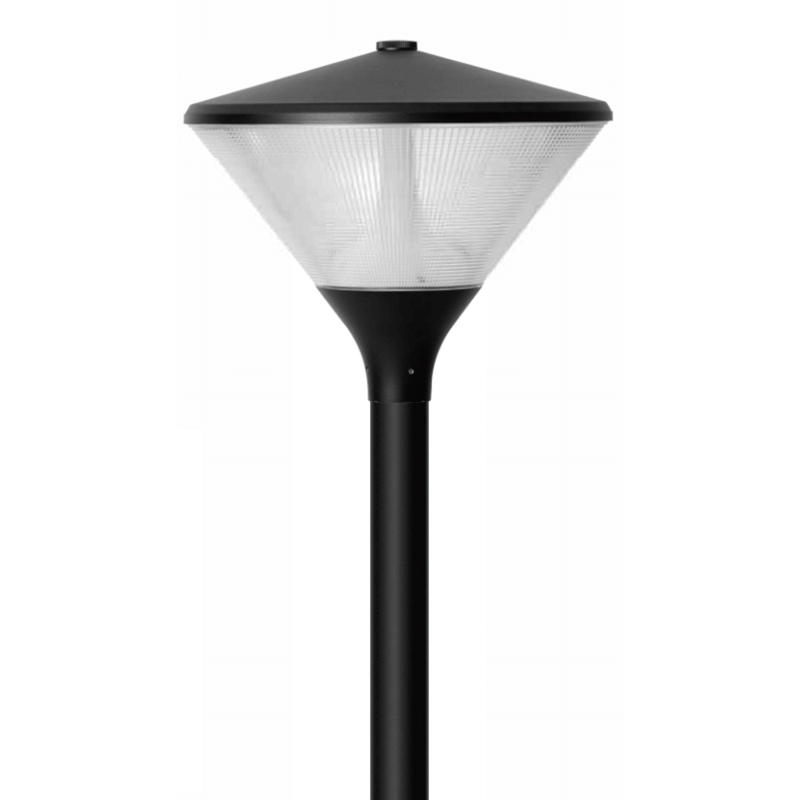
Step 2: Can install three types of landscape lights.
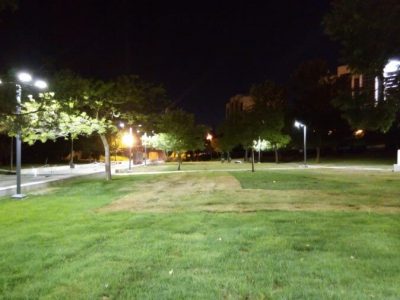
VEGASeries LED Solar Street Lights can power by photovoltaic cells that are recharge during the day. They do not require any wiring, so they are the easiest to install. They require 6 to 8 hours of direct sunlight per day to charge fully.
The LIBRA Series LED Low Voltage Street Lights power by a transformer that reduces the regular voltage to 12 volts. These systems are safe to use, energy efficient, and easy to install and move. They can plug into an outside GFCI socket.
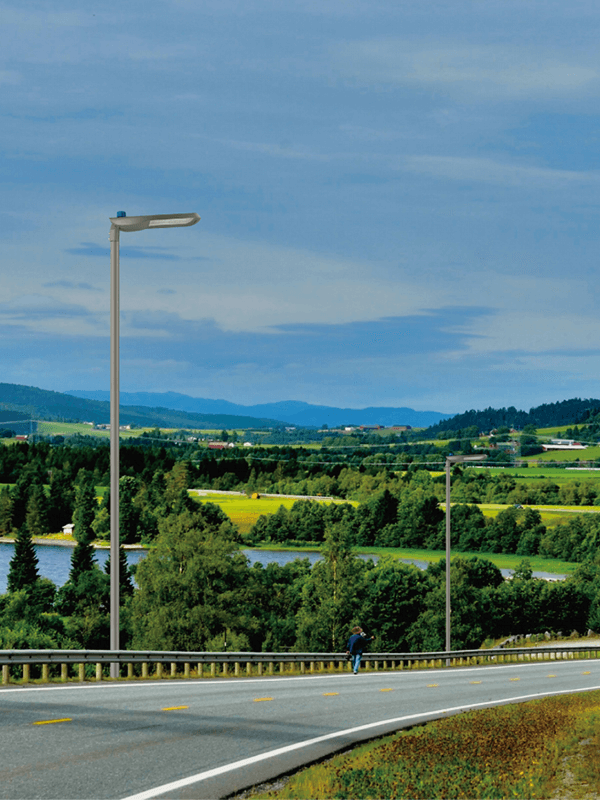
Line Voltage Landscape Lights operate at 120 volts, the same voltage as the appliances in your home. Line voltage lights are hardwired to your home’s electrical system through the conduit using electrical junction boxes and protective wiring. Due to the complexity of these systems, they are best installed by a licensed electrician.
These are the three types of lights I recommend, so you can choose the right type of light for your needs.
Step 3: Lighting voltage
This is also an issue that we have to consider. Garden lighting can be low voltage (12 volts) or high voltage (230 volts). For 230-volt garden lighting, it is important to lay the cables at a depth of at least half a meter. This is for safety reasons so that if you are working in the garden, you do not accidentally come into contact with live cables. 12-volt garden lighting does not need to be as deep, as the voltage is obviously much lower. 12-volt garden lighting is usually sufficient to give off enough light, but it is mainly used for atmospheric lighting. So you can choose the right lighting voltage for your needs.
And building a 12-volt garden lighting system is much easier than 230V. If you choose a 12 V system, you only need a transformer, ground wire and the garden light of your choice. Using connectors, you can easily connect the lights to the cables. Connecting a 230-volt garden lighting system is not as simple, so if you are not experienced, then we always recommend hiring an electrician. Another thing to consider is that it is much more difficult to install a 230-volt garden system in a finished garden as 50 cm of soil needs to be dug out to lay the grounding cable.
Steps for installing garden lights
Step 1: Determine the placement of the lights
We first use a tape measure to measure the location where the light strip needs to be placed. If you choose to place the LED lights along the path, we will also need to measure the distance with a tape measure and then calculate the density of the lights. At this point, you need to make sure that the line is no more than 6 inches from the edge of the path. Otherwise, the lights may not illuminate properly at night.
Step 2: Assemble the lighting and the wiring used (Solar LED lights as an example)
First, follow the instructions to assemble the solar LED lights that will be laid out. Typically, this involves placing the top of the light into the bracket and then attaching the light post to the bottom of the bracket. And expose the solar panel to full sunlight for 8 to 12 hours before starting the installation. This will allow the batteries to be fully charged and any potentially defective lights to be found before installation.
We also need to dig out the clearing where the solar LED lights will be placed. Suppose the ground is hard or dry. Lightly water the area where the lights will be installed along with the soil and allow the soil to soak in for a few hours. This will make it easier to install the fixtures where we want them. Push the stakes of the solar LED lights into the ground, making sure they remain vertical. The light posts will be easy to install when the soil is loose. Do not force the lights into the ground as this may damage the stakes.
Step 3: Placement of LED solar lighting
We need to do some simple wiring. Follow the manufacturer’s instructions at this point. For path lights, measure the consistent distance between fixtures and place them temporarily in the ground. Once you have the fixtures where you want them, drive the stakes into the ground, making sure they remain vertical. Route the cable from the transformer along the path of the fixtures you just installed. Keep the wires above the ground. The LED solar lights placed following this procedure will be very neat and will look much better.
Step 4: Connect the light
Wrap the connector with electrical tape or use a permanent waterproof adhesive to connect. Begin by stripping one inch of insulation from the wires with pliers. Then cut the cable, separate the conductors, and strip these wires. Place a brass “butt joint” on each conductor and tighten the set screw on one side and repeat for the other conductor. And we also need to slide the heat shrink tubing over each wire so that one of the wires on the fixture can be twisted together with one of the remaining conductors. After that, slide these wires into the end of the brass connector and tighten them. Finally, slide the heat shrink sleeve over both brass connectors. Use a butane or propane torch to heat the tubing until it shrinks tightly over the wires. Then repeat the process for each solar LED light fixture. Plugin the transformer at the switch and turn the system on. If the light is too dim, the cause may be an underpowered transformer. If needed, upgrade the transformer size.
Step 5: Connect the switch and check the wiring
If your light is 230V, then connecting the switch is best installed by a professional with electrical experience. If you install it yourself, be sure to connect the fixture according to the manufacturer’s instructions. Next, wire the light switch, then connect the cable to the GFCI circuit breaker to turn the power back on to the panel box and circuit breaker. Test your light switch and fixture for proper operation. Before burying the UF cable, call an electrical inspector to schedule your wiring inspection. Once your wiring passes inspection, bury the cable.