Introduction:
Floodlights improve the brightness, safety, and aesthetic of your home. Therefore, when they give out or reach the end of their lifespan, it’s normal to panic a little. If you’re here, you likely want to know how to change a flood light bulb. And if so, you’ve come to just the right place. In this article, you’ll learn how to replace LED flood lights in simple steps. The process may seem complex, but it is very straightforward.
Through the detailed guide below, you’ll learn how to change flood light bulbs. But, before that, we’ll walk you through the basics to ensure you are 100% ready for the replacement.
Replacing Flood Light Bulb- Preliminary Preparations
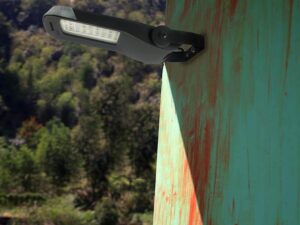
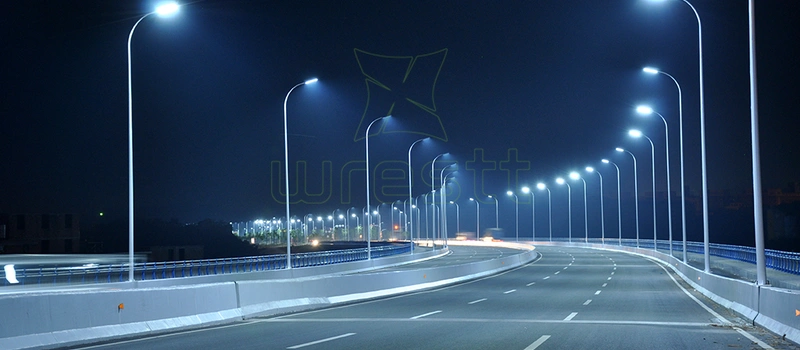
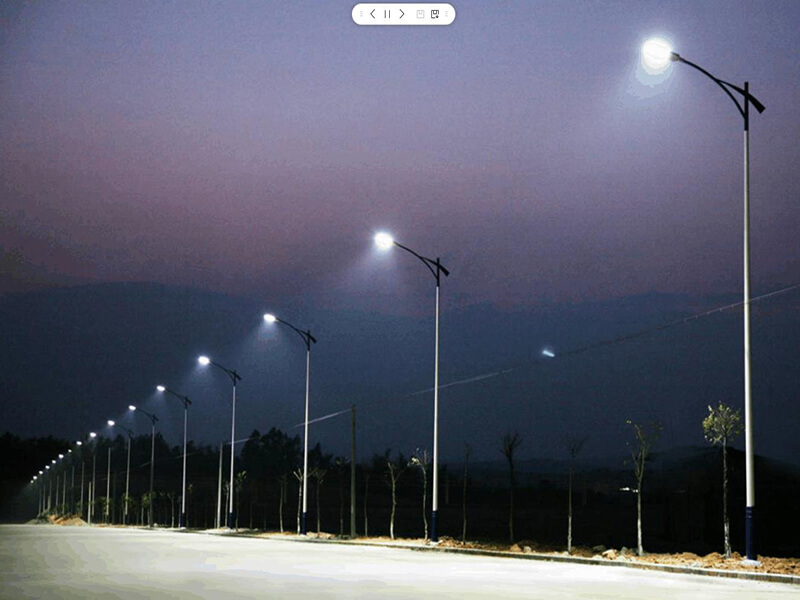
Flood light bulbs are used to illuminate large outdoor settings. These settings could be driveways, parking lots, or even gardens. Because they are designed to be bright enough to cover wide spaces, these bulbs are a preferred choice for many applications. When they burn out, replacing flood light bulbs takes top priority for brightness and security reasons.
Before changing flood light bulbs you need to make all the necessary preparations. These include sourcing and purchasing a similar floodlight bulb and gathering the required tools. You must also prioritize your safety throughout the entire process, and here’s how to do that.
-
Safety First
Electricity is a valuable yet dangerous asset. If you carry out an LED flood light bulb replacement without the necessary precautions it will compromise your safety.
Turn off the power: the first and most important step is cutting off the power to the bulb. You can do this at the switch or preferably at the circuit breaker. This is to ensure there is zero flow of electricity to the bulb while you work.
-
Use a sturdy Ladder
Changing flood light bulbs mounted too high can be tough. This is why you’ll need a ladder to reach them. To prevent incidents, make sure the ladder stands on a flat surface. If you have an extra pair of hands, have them support the ladder while you climb.
-
Wear protective gear
The protective gear you need are gloves and safety goggles. These tools will protect you from sharp edges and debris. Another added benefit to using gloves is that they help you grip the bulb tighter.
How to Change a Flood Light Bulb: Five Steps
After taking the necessary safety measures, it’s time to gather your tools. All you need is a screwdriver and a new floodlight bulb(s). Make sure you thoroughly check the floodlight bulb before purchase. It must be the same brand/type and wattage as the old bulb.
With all your tools and safety gear in place, it is time to learn how to change a flood light bulb.
Step one: Turn off the power
This first step re-emphasizes the importance of cutting off the power. Locate the circuit breaker that controls the flood light and switch it off. You can alternatively turn off your main power switch if you can’t find the breaker. After doing so, double-check by trying to turn on the light with the switch. If it remains off, then you’re good to go.
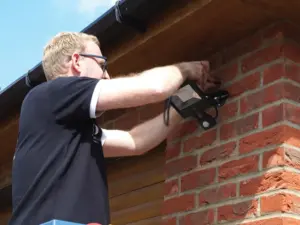
Step Two: Set up the Ladder
Place your ladder on a flat, even surface. The ladder should be in a spot that allows you to easily reach your light fixture. For better stability, we encourage having someone hold the ladder while you climb and work.
Step Three: Remove the old bulb
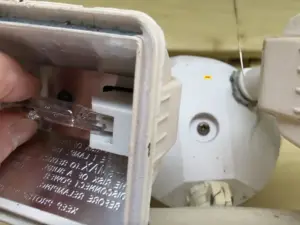
After climbing the ladder with your tools, remove the old bulb. If your light fixture has a cover, use your screwdriver to unscrew and remove it. After you remove the screws, place them in a safe spot so you don’t lose them. Now, with your gloves, unscrew the floodlight by turning it counterclockwise. But before that, ensure the bulb has had enough time to cool down. Hot bulbs can cause burns and even shatter when touched. If the bulb feels stuck as you turn it, you might need to wiggle it gently to loosen it. Remember to be gentle, or the bulb might break from the force.
Step Four: Install the new bulb
After removing the old bulb, take the new bulb and screw it into the socket by turning it clockwise. When the bulb feels secure, make sure to stop twisting at once. If you over-tighten it, you could damage the bulb and the socket.
The replacement flood light bulb must be identical to the old bulb. It should be of the same type and wattage. You can get this information from the user manual or the specifications written on the light bulb.
Step Five: Test the new bulb
Once the new bulb is securely in place, it’s time to test it! All you have to do is return to where we started, the circuit breaker, and turn on the power. Next, flip on the light switch to see if the bulb works. If it turns on and doesn’t show any flickering, then congratulations. You’re a fix-it-yourself genius. If otherwise, you need to turn off the power and check the connections for misalignments.
Once everything is in place and your bulb works, you can reattach the cover of your fixture using a screwdriver.
Troubleshooting Tips
If the light bulb doesn’t work after installing the new bulb, you can check the following:
1.Bulb type: compare the new and old bulbs to ensure they are exact. These bulbs must be of the correct type and wattage.
2.Connections: check the tightness of the bulb. Make sure it is screwed in properly and that the fixture connections and wirings are secure.
3.Socket: inspect the socket for any signs of damage or corrosion. At this point, you may need to invite a professional to replace or fix the entire socket.
4.Circuit breaker: make sure the circuit breaker hasn’t tripped. Your circuit breaker could trip for several reasons. These could include overload, short circuits, and faulty devices. If you’re unsure about how to resolve the issue, you should call a licensed professional. Electrical work can be complex and dangerous. It is best to leave things up to professionals when the need calls for it.